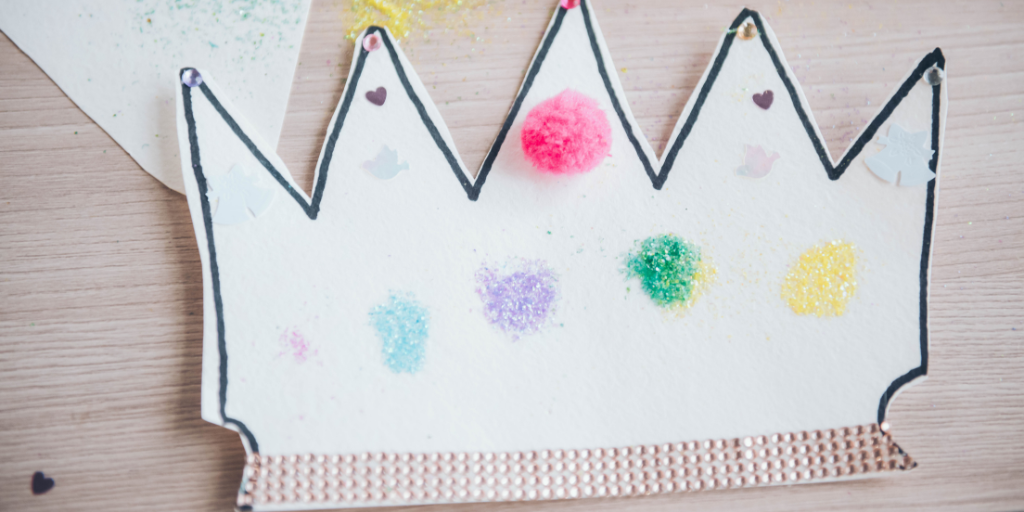
Your Local Early Learning Centre shares the activity of the month… Paper Crowns!
Take dressing up to the next level, by letting your little one design their own prince or princess crown using these easy instructions on how to make a crown out of paper!
Materials
- A4 cardstock in any colour you like
- Scissors
- Pencil
- Glue/tape
- Things to decorate with (e.g. plastic gems, glitter glue, stickers, small pompoms, ribbon etc.)
Steps
- Draw a crown shape on your cardstock lengthways, we opted for simple, triangle spikes, however, you can choose any crown shape you like.
- Cut out your crown shape, leaving a straight edge at the bottom.
- Cut another strip of paper for the back of the crown (you can make this as long or short as you need to fit the circumference of your head).
- Now time to decorate the crown shaped piece of cardstock. We chose to use glitter glue as well as glue on some gems in a nice pattern!
- Once the front of your crown is decorated and dry, glue or tape the short sides of the strip of paper to the back of each side of the crown. This should make the crown look like a headband.
- Your crown is now ready to wear! If you used glue, make sure you wait until it has dried to pop the crown on your head!


