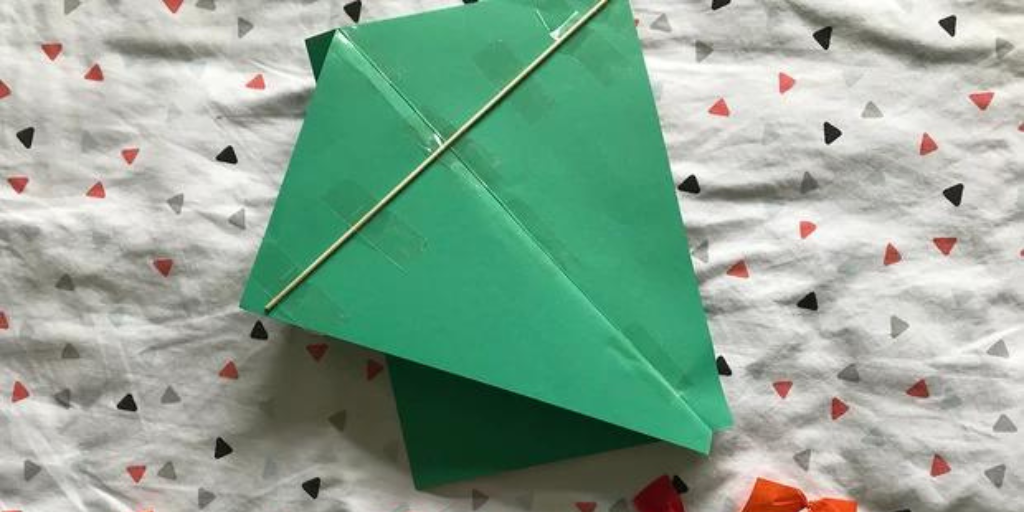
Your Local Early Learning Centre shares the activity of the month… Paper Kites!
Are you in need of some family activities to keep your children entertained? Try making this fabulous kite in this month’s DIY activity.
Materials
- Paper (A4)
- Scissors
- bamboo skewer (or a straw)
- Sellotape
- String
- Hole punch
Steps
- Place the piece of paper (or you can use a lightweight card) in front of you and fold it in half (so the fold is halfway along the longest edge).
- Mark a point with a pen along the top edge, about 3cm to the right of the folded edge (the top left corner). Then make a point along the bottom edge, about 3cm from the bottom right corner. Join up the lines. This is your first fold line.
- Fold the top right corner down along the fold line you just marked.
- Turn your piece of paper over (flip it) and fold the other side to match the first (along the same fold line). The two corners should meet once you have folded this side.
- Unfold one of the flaps and lay your kite in front of you, flat, with one flap folded downwards. Tape all along the fold.
- Lay a wooden skewer across the kite, from corner to corner, and tape it in place.
- Flip your kite upside down and mark a hole – a quarter of the way down the fold – from the top of the kite. Cover the hole with tape to reinforce it.
- Use a hole punch or scissors to punch a hole where you have marked. Tie the hole with string – knot the string several times to make sure it won’t come loose in the wind.
- At this stage, your kite is ready to fly. But now’s also a fun time to decorate it! You can paint or decorate the top of your kite with pens, paints, or stickers.


